This post assumes that you have knowledge on windows services and how to create a windows service using visual studio. People who don't know how to create windows service please learn
here.
Please follow below steps to create a setup project
1. Create a visual studio solution with a project of type Windows Service as explained in
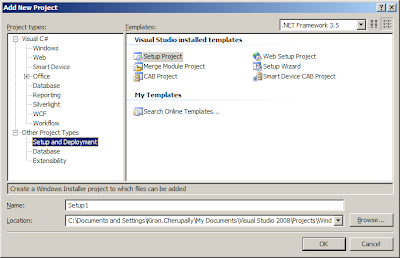
http://cherupally.blogspot.com/2009/09/how-to-create-windows-service-in-dot.html2. Add a new project of type "Setup Project" to the solution as shown below
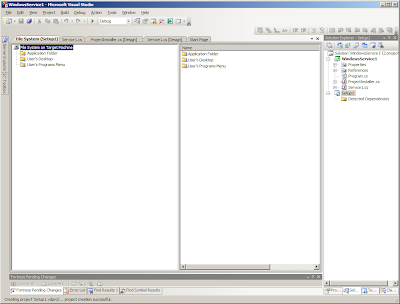
2. Once you click on OK button in the above step, you will see the screen below. There you notice a new project named "Setup1" is added.
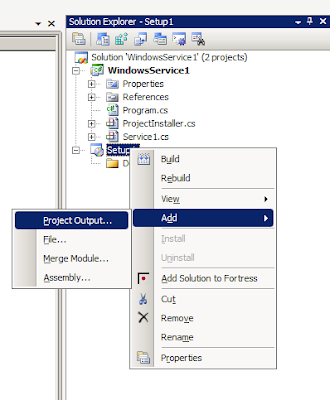
3. Now right click on Setup1 project in the solution and click "Add Project Output" as shown below.
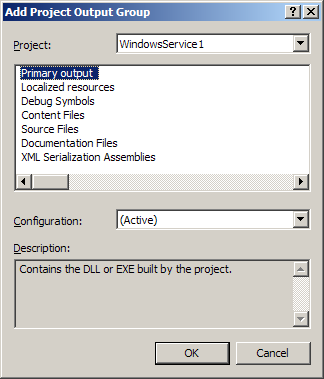
4. In "Add Project Output Group" dialog box shown below, select the windows service project in the drop down and click OK.
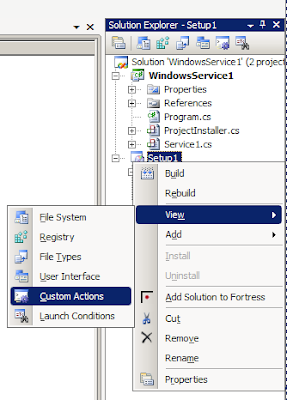
5. The above 4 steps are only to copy all the assemblies to specifies installation folder. Setup will not install the services in the system. To tell the setup to install services we must add custom actions. To open the custom actions window right click "Setup1" project in solution explorer and click View->Custom Actions as shown below.
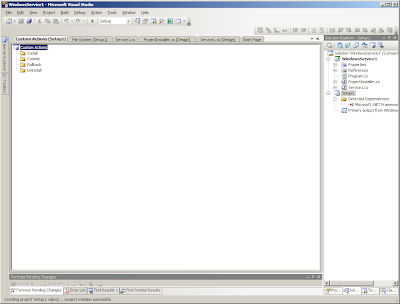
6. You will see the Custom Actions tab opened like this.
7. Right click on "Custom Actions" and click "Add Custom Action".
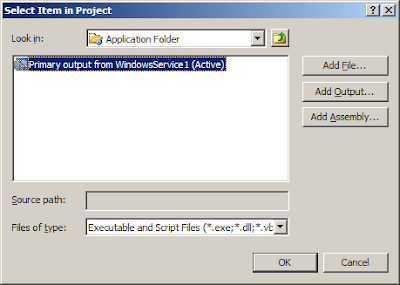
8. That will open a dialog box which lets you choose the items from "Application Folder". Select "Primary Output From WindowsService1" in "ApplicationFolder" and click OK.
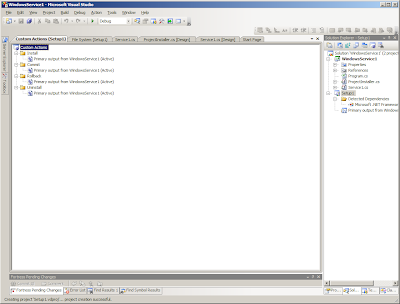
9. The above step will add this custom action to all sub folders "Install", "Commit", "Rollback", "Uninstall". Finally you will see the screen like this.
10. Build the "Setup1" project. Now you are ready to use this setup project to install/uninstall windows services. Take the setup build from WindowsService1\Setup1\Debug and use it to install/uninstall when needed.


 installing this service.


